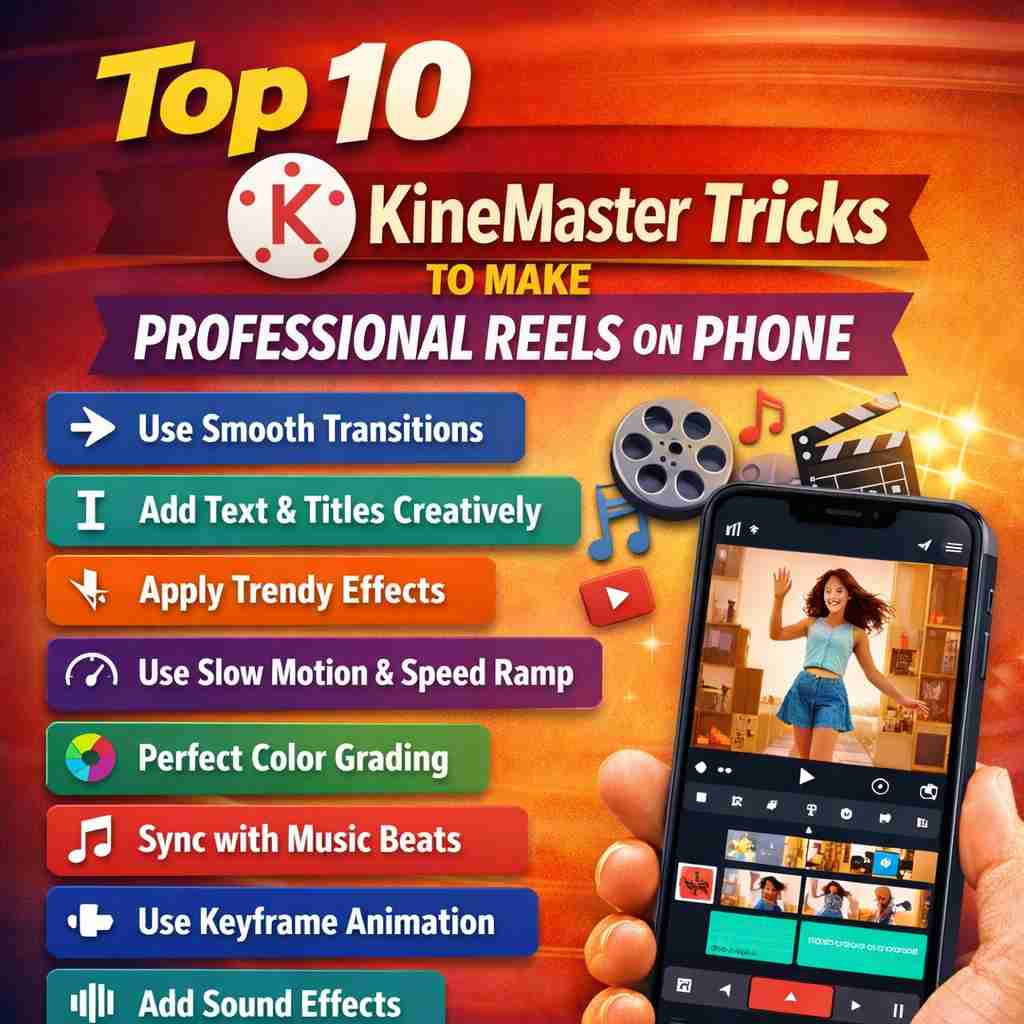
Top 10 KineMaster Tricks to Make Professional Reels on Phone (For Designers & Media Creators)
Short-form video is now the fastest way to grow a brand, client base, or personal portfolio. Whether you’re a freelance designer, social media manager, or running a media agency — clients expect studio-level reels, not basic edits.
The good news?
You don’t need a laptop, Premiere Pro, or After Effects anymore.
With the right workflow, KineMaster on your phone can produce agency-quality reels that look ready for Instagram ads, brand promotions, and client portfolios.
Let’s go step-by-step through the most powerful tricks professionals actually use.
1️⃣ Start With a Vertical Editing Setup (Most Beginners Ignore This)
Before editing anything — fix your project settings.
Go to:
Create New Project → 9:16 ratio → 30 FPS (or 60 FPS for cinematic brands)
Why it matters:
Instagram compresses horizontal videos badly
Exporting vertical prevents cropping
Higher FPS looks premium for product ads
? Pro Tip:
If the client shot horizontal video, don’t crop randomly — use background blur (Trick #6 below).
2️⃣ Use Beat Markers for Perfect Music Sync
Professional reels feel satisfying because cuts match the beat.
How to do it:
Import music first
Tap audio layer → Beat Marker tool
Add markers on every major beat
Cut clips exactly on markers
This instantly upgrades your video from “edited” → “professionally edited”.
? Clients notice this subconsciously — especially for fashion, gym, café, and product reels.
3️⃣ Layer Editing (The Secret Behind Premium Reels)
Never rely on one video track.
Professional reels always have:
Main video
Text overlay
Logo layer
Light effects
Particles / graphics
In KineMaster → use Layer → Media / Text / Effect
This creates depth — and depth = premium feel.
4️⃣ Speed Ramping Like Cinematic Ads
High-end brands rarely keep constant speed.
Use:
Trim → Speed Control → Split Clip
Then combine:
0.3x slow motion
1x normal
1.8x fast cut
Result: dramatic motion energy (very popular in gym, automotive, and product ads)
5️⃣ Color Grade Using Adjustments (No LUT Needed)
You don’t need LUT packs if you understand basic grading.
Go to:
Color Adjustment → Tune
Use this universal professional formula:
Setting
Value
Contrast
+20
Saturation
+10
Highlights
-15
Shadows
+12
Temperature
Slight warm
Instant brand-style look.
? Tip for designers:
Match reel color tone with brand logo colors → looks like agency work.
6️⃣ Fake DSLR Blur Background (Huge Client Favorite)
Got horizontal footage? Don’t crop faces.
Instead:
Duplicate clip layer
Send bottom clip to full screen
Add Gaussian blur (strong)
Put original clip center
Now it looks intentionally designed — not low quality.
Perfect for restaurants, boutiques, and interviews.
7️⃣ Motion Text Animation (This Separates Amateurs From Pros)
Static text = beginner edit
Animated text = commercial reel
Use:
Text → In Animation + Out Animation
Recommended combo:
Fade Up
Pop
Slide Right
Add shadow + stroke → cinematic title look
? Use for:
Price reveal
Offer highlights
Brand slogan
8️⃣ Use Overlay Effects for Premium Feel
This one trick makes reels look expensive.
Add overlays:
Light leaks
Film burn
Dust particles
Glow
Keep opacity low (15–25%)
Never overuse — subtle = premium
9️⃣ Smart Export Settings (Most People Ruin Video Here)
Editing perfect but exporting wrong = low quality reel.
Best KineMaster export settings:
Setting
Value
Resolution
1080p
Frame Rate
30 or 60
Bitrate
High
Format
MP4
? Important for media agencies:
Clients often send random formats from cameras or recorders.
Before editing, you can quickly convert heavy footage using tools like MKV to MOV so KineMaster works smoother — especially on mid-range phones.
(Just a workflow optimization — saves crashes.)
? Use the “Hook in First 2 Seconds” Rule
Professional reels are not about editing only — they’re about retention.
Structure every reel like this:
0-2 sec → Hook
Show result first
2-6 sec → Process
Behind the scenes or transformation
6-10 sec → Offer
Call to action
Example:
“Before → After → Price → Contact”
This alone increases engagement more than any transition pack.
Bonus Workflow Used by Media Agencies
Here’s a simple production system you can follow for clients:
Collect raw clips
Choose music first
Mark beats
Arrange story
Add text
Color grade
Add effects
Export optimized
Time taken: 25–40 minutes per reel
Why Designers Should Learn Mobile Editing
Many designers think editing is separate from design — but today:
Branding + Video = Client Retention
Businesses don’t just want logos anymore.
They want:
Instagram reels
Ad creatives
Promotional content
So the designer who can edit reels becomes a complete media creator — and earns 3x more per client.
Final Thoughts
KineMaster is no longer a beginner tool — it’s a mobile production studio.
With the tricks above, you can:
Serve local businesses
Offer monthly content packages
Build a reel portfolio
Start a media service
You don’t need expensive gear — just structured editing.
Because in 2026…
? The editor who understands storytelling beats the editor who knows software.


