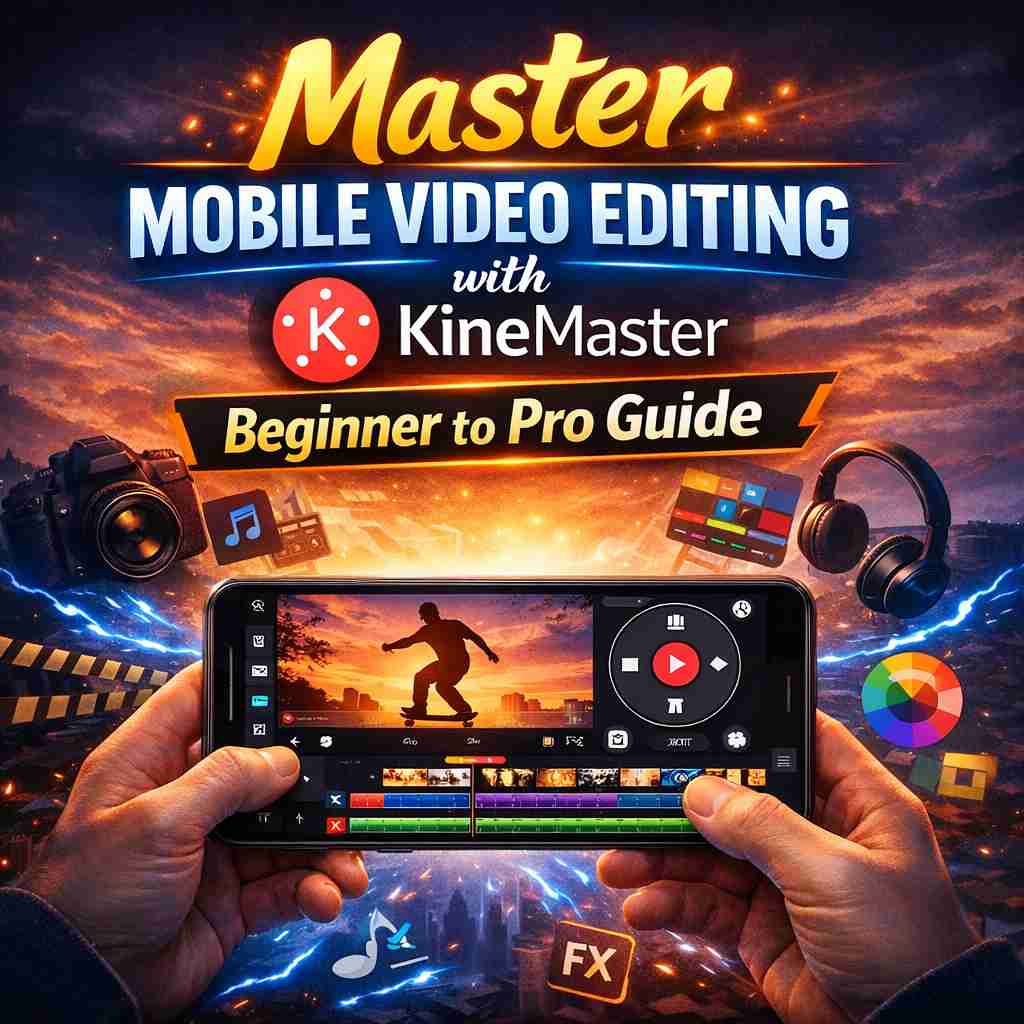
Master Mobile Video Editing with KineMaster – Beginner to Pro Guide
Master Mobile Video Editing with KineMaster – Beginner to Pro Guide
In today’s content-first world, mobile video editing is no longer a hobby — it’s a business skill. From Instagram reels and YouTube shorts to client advertisements and brand storytelling, designers and media creators are expected to deliver fast, high-quality video content.
The good news?
You don’t need a powerful PC anymore.
With KineMaster, your smartphone can become a portable editing studio. Whether you’re a freelancer, social media manager, agency owner, or designer building a personal brand — mastering KineMaster can literally turn your phone into an income tool.
This guide walks you step-by-step from beginner to pro — in a practical, real-world way focused on media business usage (B2B & B2C).
Why Designers Should Learn Mobile Editing
Before tools — let’s understand the demand.
B2C Clients (Direct Customers)
Local businesses need daily reels
Influencers need quick edits
Coaches need talking videos
Real estate agents need walkthrough clips
They don’t wait 3 days for edits anymore.
They want same-day content delivery.
B2B Clients (Agencies & Companies)
Agencies outsource fast editors because:
Desktop editors are expensive
Mobile editors deliver quickly
Short-form video dominates marketing
Speed = Money in media industry
And that’s exactly where KineMaster wins.
Step 1 — Understanding KineMaster Interface (Beginner Level)
When you open KineMaster, you’ll see 4 main areas:
Media panel (import videos & images)
Timeline (arrange clips)
Layers (text, overlays, effects)
Preview screen (see final output)
Your First Editing Workflow
Create new project (16:9, 1:1 or 9:16)
Import clips
Trim unwanted parts
Add music
Export
That’s it — you’ve edited your first video.
But beginners make one big mistake:
They focus on effects first.
Professional editors focus on storytelling first.
Step 2 — Clean Cuts Editing (The Real Skill)
Professional looking videos are not about transitions — they’re about clean cuts.
Rule of Retention
Every 2–3 seconds, something must change:
Camera angle
Zoom
Text
B-roll
Motion
Otherwise viewers scroll.
How to Do It in KineMaster
Use:
Split tool
Trim to left/right
Jump cuts
Zoom keyframes
This single skill alone can make your videos look 10x more professional.
Step 3 — Adding B-Roll (What Clients Actually Pay For)
Most beginners only edit talking videos.
Professionals add supporting visuals — called B-roll.
Example:
Speaker says:
“Digital marketing increases sales”
Add visuals:
Laptop working clip
Graph rising animation
Website scroll
Now the video looks commercial-grade.
Where Designers Use This (Real Work)
Course videos
Agency ads
Brand promos
Product videos
YouTube automation channels
This is where mobile editors start earning.
Step 4 — Text Animation & Branding
Businesses don’t just want videos.
They want identity.
In KineMaster you can:
Create brand fonts
Add lower thirds
Animate headlines
Highlight keywords
Pro Tip
Never keep text static.
Always add subtle motion.
Simple animations that work:
Fade up
Slide left
Pop zoom
Scale in
Avoid flashy transitions — clients prefer clean corporate style.
Step 5 — Sound Design (Most Underrated Skill)
Bad audio = amateur video
Good audio = professional video
In KineMaster:
Lower background music to 15–25%
Use fade in/out
Add whoosh effects on transitions
Add click sounds on text popups
Sound design alone increases perceived quality dramatically.
This is how editors charge premium.
Step 6 — Color Correction (The Pro Difference)
Beginners ignore color.
Professionals never skip it.
Basic Formula in KineMaster
Adjust:
Brightness
Contrast
Saturation
Temperature
Goal:
Make clips look consistent — not cinematic.
Consistency matters more than style for clients.
Step 7 — Export Settings for Social Media
Different platforms = different exports
Platform
Resolution
FPS
Instagram Reels
1080x1920
30fps
YouTube
1920x1080
30fps
Ads
High bitrate
30fps
WhatsApp
Medium bitrate
24fps
Always export MP4 H.264 for compatibility.
Step 8 — Turning Skill into Income
Now comes the real question:
How do you monetize mobile editing?
Beginner Income (Freelance)
Services you can offer:
Reels editing
Caption videos
Podcast shorts
YouTube shorts
Average earning:
₹300 – ₹800 per video
Intermediate Income (Recurring Clients)
Offer packages:
Monthly Content Package:
30 reels/month
Brand templates
Fast delivery
Income:
₹12,000 – ₹40,000/month per client
Pro Level (Agency Work)
Work with agencies:
Coaches
Startups
Real estate companies
Marketing firms
Income:
₹50,000+ monthly potential
Workflow Optimization (Hidden Professional Trick)
As volume increases, organization matters.
Many editors maintain shot logs, captions, and data lists in spreadsheets for bulk content planning — sometimes converting raw lists using tools like TXT to CSV before importing into scheduling workflows.
This saves massive time in media production pipelines.
Daily Practice Plan (Become Pro in 30 Days)
Week 1: Cutting & trimming only
Week 2: B-roll & storytelling
Week 3: Text animation & branding
Week 4: Client-style projects
Do NOT learn effects first.
Learn:
Editing → Story → Retention → Branding → Speed
Common Beginner Mistakes
Avoid these and you’ll grow faster:
Overusing transitions
Loud background music
Random fonts
Long intros
Exporting wrong aspect ratio
No hook in first 3 seconds
Remember:
Social media videos are not movies.
They are attention battles.
Final Thoughts
KineMaster is no longer just a mobile app.
It’s a career tool.
Today, brands don’t care what software you use —
they care how fast you deliver engaging content.
If you master:
Clean cuts
Retention editing
Branding style
Fast delivery
You can work with both direct clients (B2C) and agencies (B2B) without expensive hardware.
Start simple.
Stay consistent.
Focus on storytelling — not effects.
Because in modern media business…
The fastest good editor always beats the slow perfect editor.


