 Sep
29
Sep
29
Reaching Uber Reaper is one thing; surviving enough Inferno runs to make the trip worthwhile is another. Even players who have set aside Hero Siege Gold for gear upgrades can lose a run by treating this fight as a damage race. Reaper's enormous health pool leaves plenty of time for one missed warning to end the attempt. Consistent farming starts with a simple rule: keep an exit route open before committing to an attack.
Move Before the Slam Lands
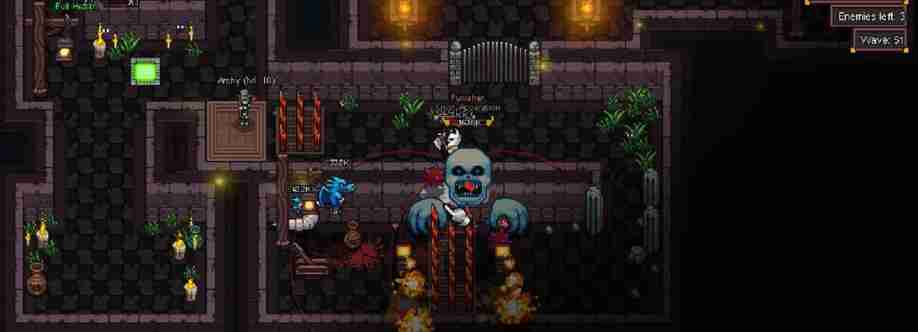
Pentagram Slam has the clearest warning and the harshest consequence. Reaper leaps, and a large red circle marks the impact area. Stop attacking as soon as the circle appears and move beyond its edge. Do not rely on a last-second defensive skill when you have room to leave; save that skill for a crowded moment later.
After the impact, approach from an angle instead of running straight back to Reaper. This gives you space to respond if another attack begins immediately. Keep the center of the arena available for crossing, but avoid standing still there between attacks. A short reposition costs far less time than restarting a long Inferno fight.
Read the Projectiles, Then Choose a Lane
Shadow Skull sends homing skulls after you. When they appear, keep moving along a clear route rather than circling tightly around Reaper. Watch where the skulls are going, lead them away from your intended attack position, and return only when there is room to deal damage without meeting them head-on.
Execution demands a different response. Four scythes appear diagonally around your position, then travel inward in a cross pattern. Identify the open lane before they converge and move decisively through it. If Reaper follows with a line attack or a spread of projectiles, prioritize the space between those attacks over staying close enough to keep hitting him.
Spend Cooldowns in a Real Opening
A major damage cooldown is most useful just after you have safely cleared an attack and can stay in range for its full effect. Triggering everything as Pentagram Slam begins wastes the opening on movement. Likewise, avoid committing while homing skulls are still closing in. Use ordinary attacks during uncertain moments, then spend your strongest skills when the arena is briefly clear.
For repeat runs, judge your setup by completed fights, not its fastest possible kill. Extra health, reliable recovery, and a movement option are worth keeping if dropping them makes one mistake fatal. Reaper's Inferno health pool rewards steady damage over several clean cycles; a brief burst cannot make up for a run that ends halfway through.
Change Targets When the Lantern Appears
Shadow Lantern interrupts the usual rhythm: Reaper becomes invulnerable while it remains active and can recover health if it is not destroyed in time. Stop attacking the boss, locate the lantern, and move toward it without crossing an active slam or projectile path. This is the moment to use a saved damage cooldown if the lantern is taking too long to remove.
Once it is gone, check your position before resuming the fight. Clearing the lantern is only useful if you survive the next attack. Return to the same measured cycle: read the warning, move into open space, and attack when Reaper leaves you a genuine opening.
Reliable Uber Reaper farming comes from making those decisions the same way each run. Whether you earn upgrades through play or buy Hero Siege Gold to prepare your build, spend your resources on staying alive long enough to finish the fight.
Buy Hero Siege Gold at U4GM – Cheap, fast, and secure! Get instant delivery, 24/7 support, and the best prices on Hero Siege Gold for all platforms.


